Tuesday, June 25, 2013

Wannabe Instagram Pic Collage

As I have mentioned before I love taking pictures, I have hundreds of pictures in my hard drive and a few dozen in a box. I hate that I have so many pictures just sitting there without being able to show them off. My second other favorite thing right now is Instagram, I love how the pictures look and how they come out if you are able to find a cheap place that prints them right. So one day as I was doing some "research" on Pinterest I got an idea on how to show off my pictures and how to make them look like Instagram pictures (without the hassle and cost of printing them online).

Here are the materials I used (the project cost me about $10 to make):
Foam Cord Boards $1 at The Dollar Tree (my favorite store, if you haven't figured it out by now)
Pictures you have or want to print (11 cents a print at Sam's Club is the cheapest I have found)
Double sided tape $1
Scissors
Decoration (OPTIONAL)
Coaster as a template to cut pictures (I'll explain)

I first chose the pictures I wanted and used a coaster, yes a coaster, as my pattern for cutting the pictures.

As I mentioned above I wanted them similar to Instagram prints, which are smaller than 4x6. My coaster is about the same dimensions to an Instagram picture when it is printed. I cut all my pictures and made sure to go back and round of the edges to give them a different effect.

I took this picture from the back, so that you can see the round edges I gave my pictures.

Here is a look of the front of the picture.

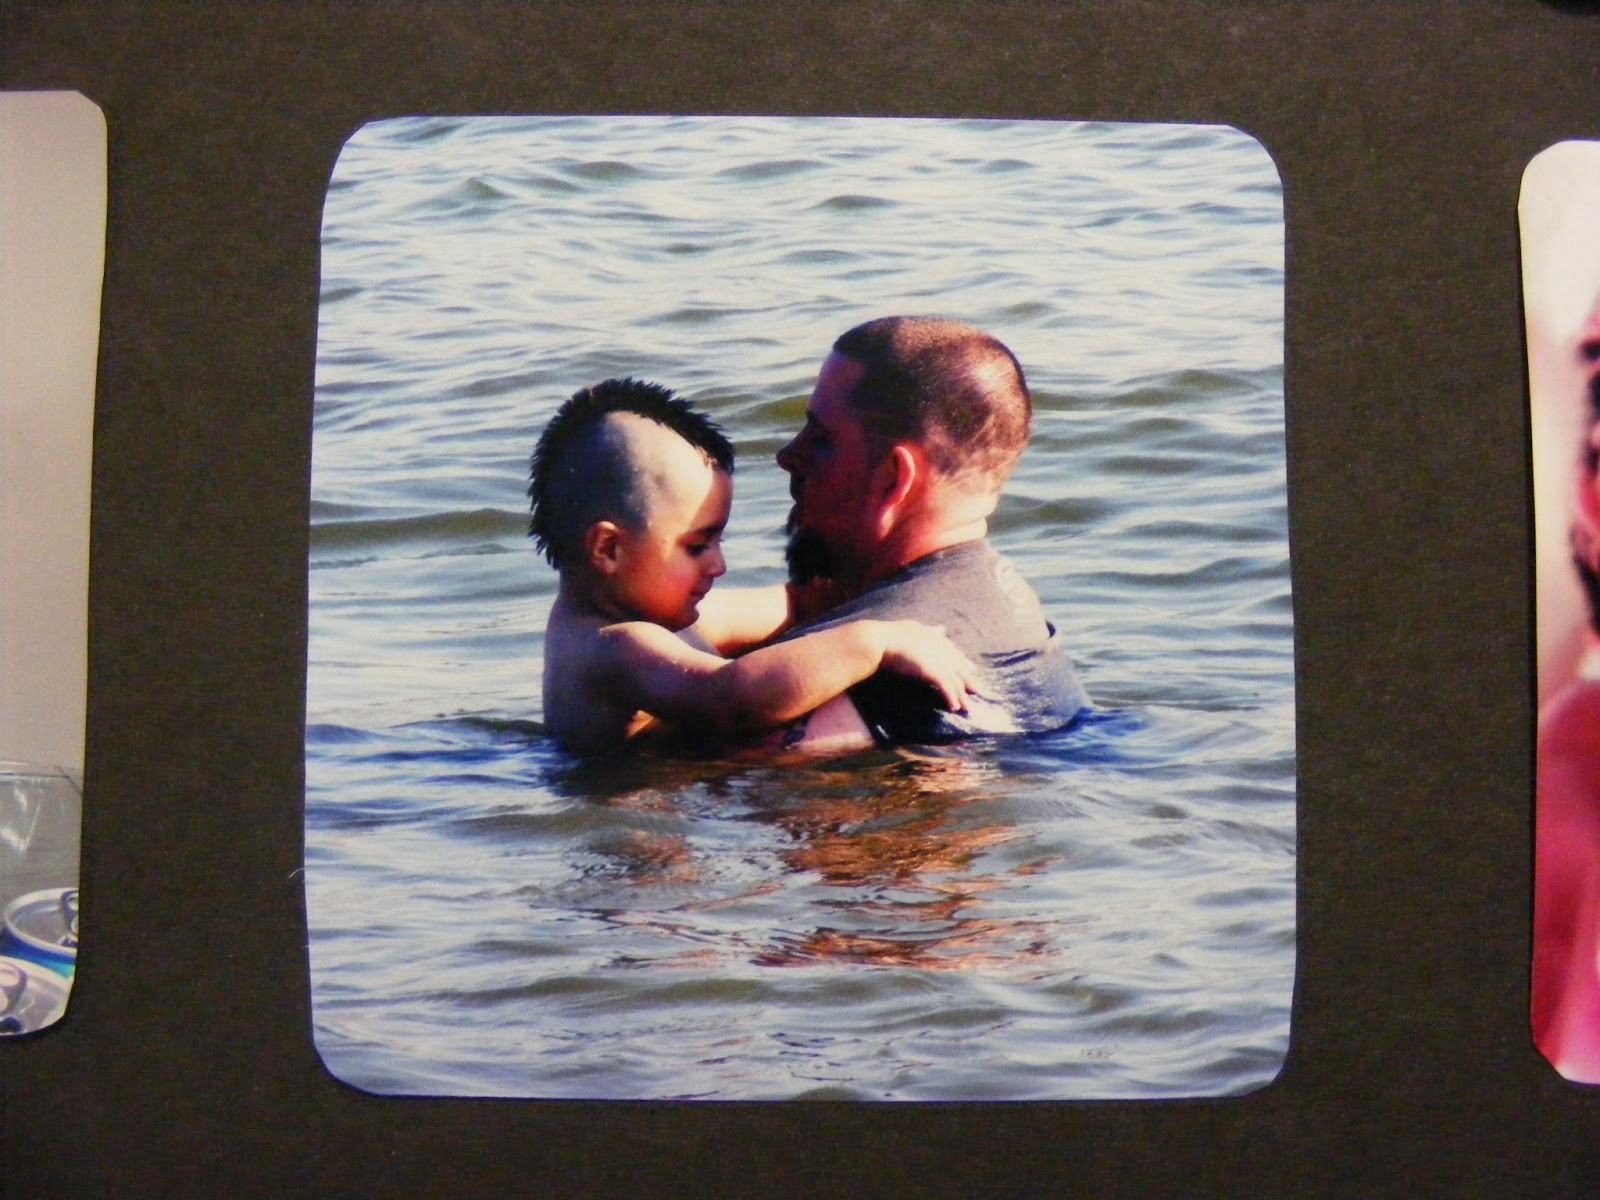
This is also a neat little trick to do with pictures that have too much going on in the background and you want to bring the focus to an actual person or object. Such as this picture:

I then used double sided tape to attach the pictures to the foam board. As you can see I aligned my pictures in a certain way and left some room in the outside, but it is not necessary to do so.

Once I was done with this, I added a few little decorations on the edges to top it off, but again it is not necessary. The Hubbs actually said it looked better without it, but not for my taste. Here is the finished product:

I love how the pictures actually look like Instagram prints because of the way they were cut. From afar you can't tell they are wannabes because of the dimensions. I will be doing a couple more of these boards to hang up in my stairway area. Once I do that I will update this post with how they look.


Wednesday, June 12, 2013

Summer Home School

Summer vacation is finally here! My son's last day of school was yesterday and although that's one less thing to do during the day, I know I have a long busy summer ahead of me here at home. The Hubbs and I agreed to put my son in some sort of summer school or summer camp, but tuition for these places are ridiculous. I'm not sure we're going to find any within our budget, so while the search continues, I came up with the idea to home school him meanwhile.
In first grade he began learning about different states in the U.S., but they didn't fully get into it. I'm sure this lesson will come up when he's in second grade, therefore I made a mini size poster that we can hang up in his room for him to study.


The map was purchased at The Dollar Tree. All I did was use double sided tape to tape it to scrapbooking paper and hung it up on his wall. He stares at it every night before going to bed and has even been able to memorize some names.

Another thing we want him to practice is his penmanship. My son has horrible writing and it was something his teacher struggled with in first grade. A few weeks ago I was at Target and saw they had a mini white board with lines on it.

It was a dollar so I picked up a couple to have him practice at home. He is currently obsessed with white boards so it's a win win situation for the both of us.

Last, but not least I want him to improve his memory skills. He has a hard time paying attention at times and forgets easily. A lot of the time I have to repeat instructions to him because he won't stop and listen. His teacher suggested we play memory games to sharpen this sense. When I was at Target AGAIN(I feel like I live at that store) I saw they had a memory card game at the dollar section and decided to snatch it up.


He loves playing with cards and I knew it would be great for him. Since I bought them we have played every other day with them. It was a dollar well spent in my opinion.

Although I'm looking forward to all the fun we are going to have this summer, I also want my son to stay on the ball when it comes to school. I don't want him to forget what he has learned and have to struggle when he enters second grade. With so many cheap ways to help him stay on track, I don't see how I cannot help him.

Tuesday, June 11, 2013

Teacher Appreciation Craft

It has been a while since I posted. I have been extremely busy with church, my son's school and of course my job of being a stay-at-home mom. Needless to stay it has been a hectic last couple of months and somewhat stressful. However, another school year is coming to an end and I will have more time to post and share some of my crafts with you.

Since the school year is ending I wanted to get my son's teacher something special for her hard work and dedication, but nothing at the store seemed original. Then I got the idea of doing something for her, something she can actually use at home or her classroom. I came up with making a personalized pencil, pen, ruler holder from a recycled formula tin can and the best part was that my son was able to help out.

The materials used were:
Black scrapbook paper (1 piece)
A recycled can of formula (got it from my sister in law)
Wood letters I got at Michael's for about $1.50
White and orange acrylic paint
Hot glue gun
Flower stickers I got at The Dollar Tree for $1.00...lol


Here's how I did it. First, I measure the can and cut the paper accordingly. I used my glue gun to make the paper stick to the tin can. Once the glue had dried, for a decorating effect I glued some ribbon on the top and bottom edge.
Second, I painted my letters white and orange to fit the color theme. Once the letters were dried, I once again used my glue gun to attach the letters to the tin can.


Here you can see the ribbon decor and letters being glued on.

Once the letters where done drying, I added some more decor by attaching some flower stickers I got at The Dollar Store.


I love how nice and detailed the flowers are and they only cost $1.00.

Once I added the flowers I was done. I stuffed the tin can with some goodies from Michael's that were 50 cents each.


In total I spent about $5-$7 to make this project. I love it because it is something she can always use and hopefully she likes it.